
Podcasting · · 4 min read
How to Choose a Podcast Microphone: USB vs XLR Explained
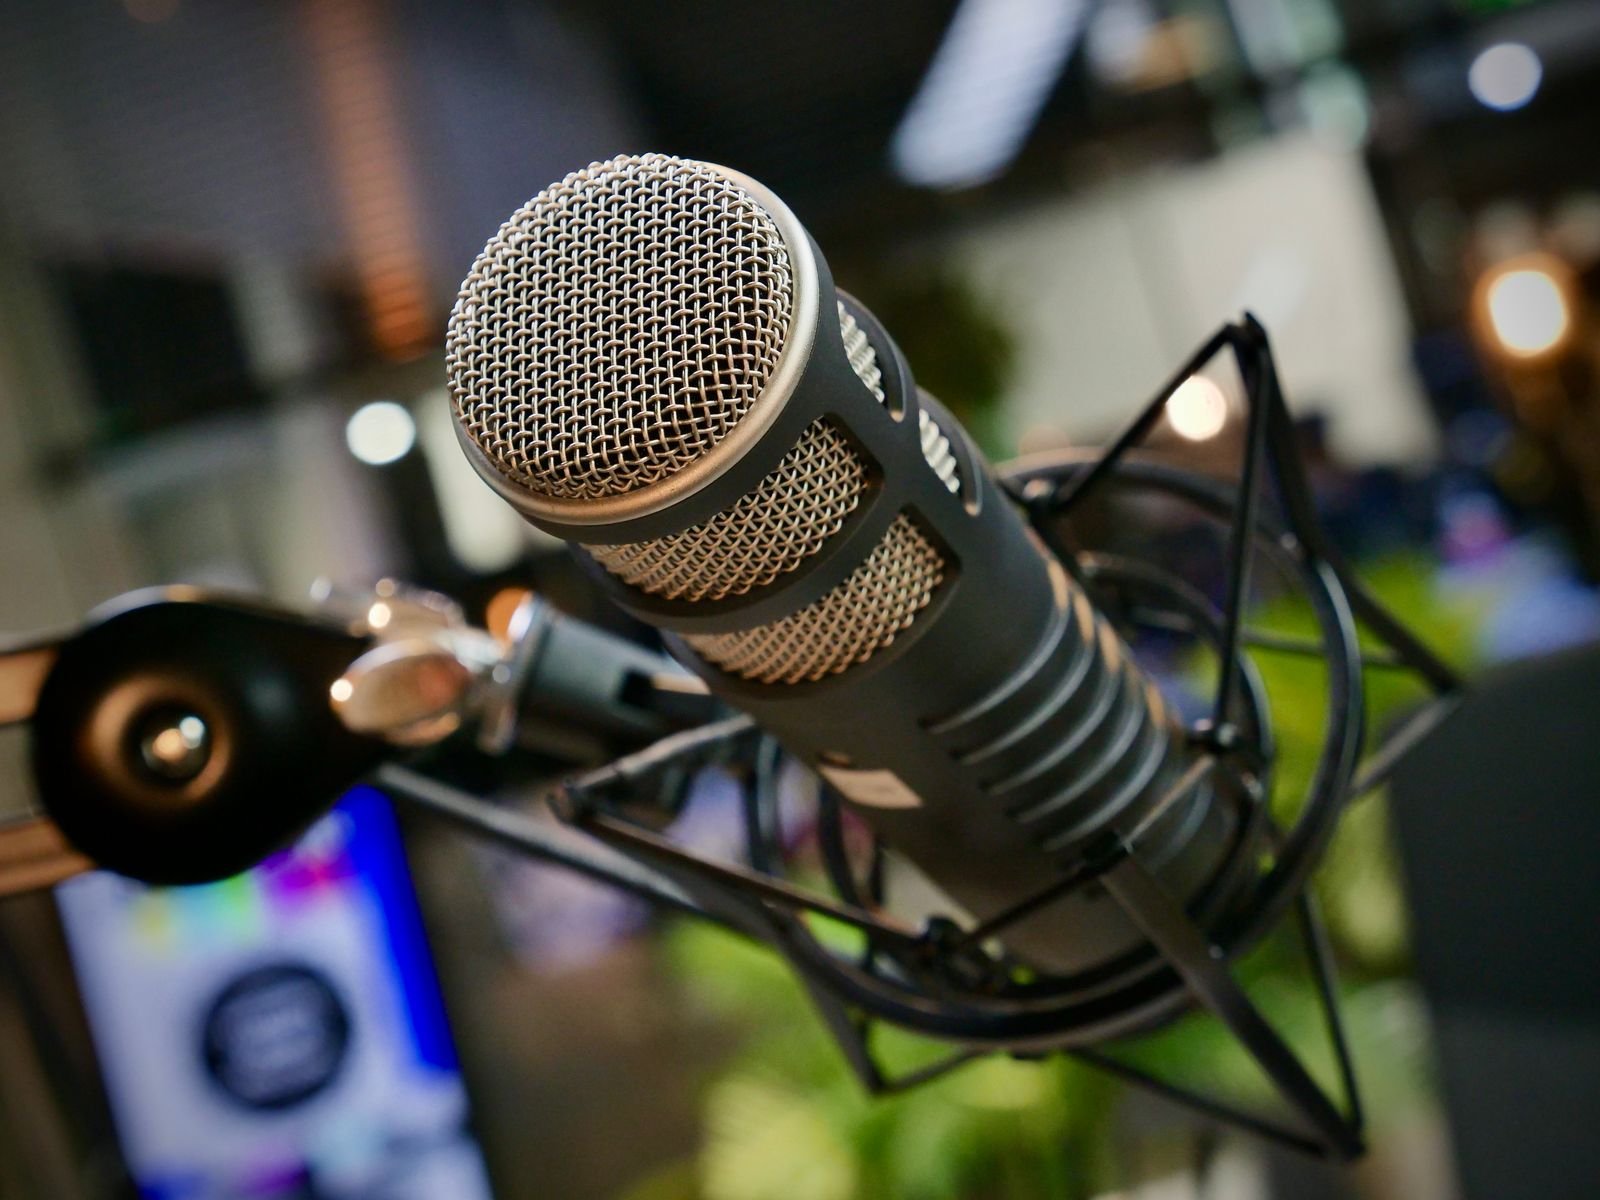
Choosing a podcast microphone can feel oddly stressful. There are hundreds of options, endless forum arguments and price tags that range from modest to silly. The good news is that clear sound at home depends on far fewer things than the marketing suggests. This guide explains the main choices, USB or XLR and dynamic or condenser, and what really matters for a beginner.
Sound quality starts with the room
Before you spend anything, look at your recording space. A great microphone in an echoey room sounds worse than a modest one in a carpeted bedroom. Soft furnishings absorb reflections, so recording near curtains, bookshelves or a sofa helps a lot.
Turn off fans, close windows and silence your phone. You will hear the improvement immediately, and it costs nothing. Once the room is sorted, the microphone only has to do its job.
USB or XLR?
USB microphones plug straight into your computer, so there is nothing else to buy. They are the simplest way to start, and plenty of hosts happily stay with them for years. XLR microphones use a professional connector and need an audio interface or mixer to reach your computer.
That adds cost and complexity, but it gives you more room to upgrade and lets you connect several microphones at once. If you may one day record co-hosts in the same room, XLR is worth understanding early. If you simply want to record next week, USB is a perfectly sensible choice.
Dynamic or condenser?
Dynamic microphones are less sensitive, so they pick up less of the room around you. That makes them forgiving in untreated spaces, which is why they are so popular for podcasts. Condenser microphones are more sensitive and capture more detail, but they also capture more background noise and echo.
In a quiet, treated room a condenser can sound wonderful. In a normal living space, a dynamic microphone is often the safer bet. Models with both USB and XLR outputs, such as the Samson Q2U and the Audio-Technica ATR2100x-USB, are often recommended to beginners, because you can start with USB and move to XLR later.
What real shows use
Our About page says The Back to Front Show is recorded with two Blue Yetis, a popular USB condenser microphone, plus a dodgy Skype connection. The notes for one episode also mention the Samson CO1U Pros. It is a good reminder that conversation matters more than a perfect setup. You can hear the results in the episode archive.
Technique matters as much as the model
Speak about a hand-span from the microphone, slightly off to one side, so breath sounds do not hit it directly. A pop filter or foam windscreen softens sharp “p” and “b” sounds. Wear headphones so you can hear what you are recording and avoid feedback.
Keep your distance consistent, because moving around changes both volume and tone. A small boom arm or desk stand also stops the microphone picking up thumps from the desk.
Do you need an audio interface or extras?
If you choose XLR, you will need an audio interface, a small box that turns the microphone’s signal into something your computer understands. Look for one with a clean preamp, a headphone output with its own volume knob, and enough inputs for the number of people you plan to record. Mixers are more flexible but bigger and more complicated, and most beginners do not need one.
Whatever you buy, keep the cables tidy and label them. A tangle of identical black leads gets confusing quickly once you have two hosts and a guest.
Common beginner mistakes
The usual problems are easy to avoid. Buying an expensive condenser and recording in a kitchen is one. Sitting too far away and turning the gain up to compensate is another, because that also boosts the room. Others include forgetting to check levels, wearing earbuds that leak sound into the microphone, and changing settings between episodes so the sound is inconsistent.
A simple checklist taped to the wall solves most of it: quiet room, headphones on, a hand-span from the microphone, levels checked, test clip recorded.
What to buy first
If you are starting today, pick a dynamic microphone with USB output, add a pop filter and a pair of closed-back headphones, and record in the quietest room you have. Then put your energy into the content. If you outgrow the setup, you will know exactly what you want to improve, which is a much better moment to upgrade.
Check current reviews before buying, since models and prices change. There is no point paying for features you will not use in your first year.
Test before you commit
Record a short sample, play it back on headphones and on phone speakers, and ask a friend whether they can hear any noise. If you like what you hear, move on and start recording. Our guide on how to start a podcast covers the next steps, and our notes on how to prepare for a podcast interview will help once you have a guest to record.